

Tiny Girl Tiny House (2/5)
Where were we in the last Tiny Girl, Tiny House post? Ah, yes, I’d just finished freaking out and questioning my sanity, before my own personal cheerleader gave me some much-needed encouragement. I suppose that leaves us with only one option:
Starting the build!
Step Four: Measure up to three times if you’re neurotic and paranoid, mark & drill.
(Steps 1-3 are in the first post)
Sidenote: I can’t stress enough how important it is to be careful around power tools. Lose respect for them and they’ll turn on you. Be careful.
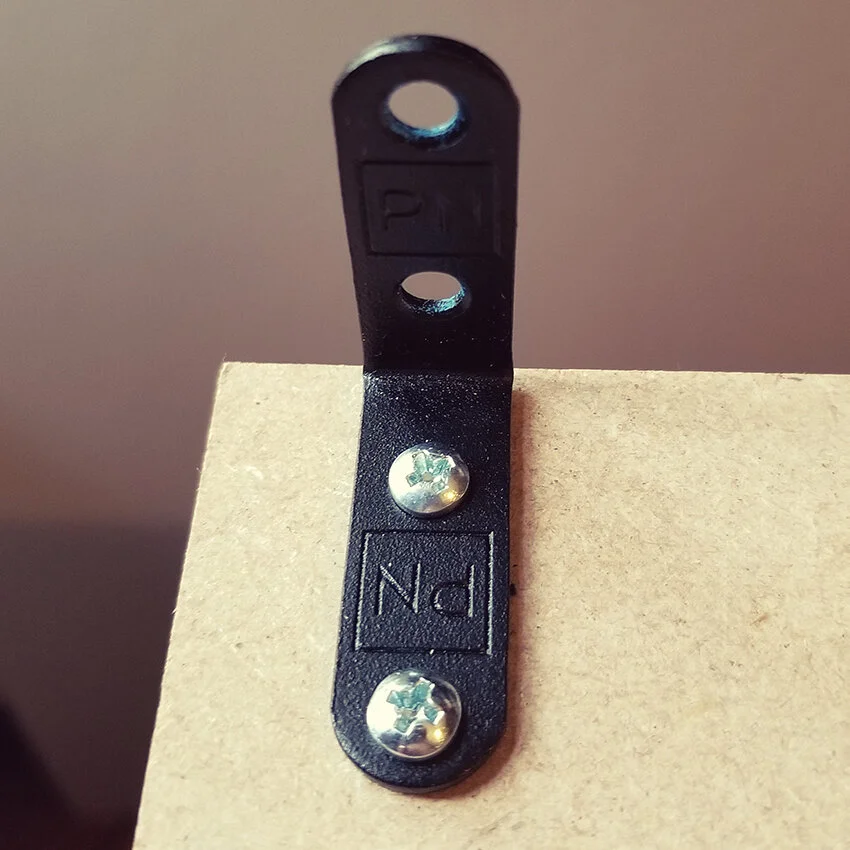
Because I wanted to make things easier on myself, I used the brackets I purchased as guides for where I would be placing said brackets. I placed the brackets down next to one another and, using a bright blue pencil (because it’s easier to see against a brown backdrop), I marked where I needed to drill. These positions were simply guesses, based on the other little assembly projects I’ve attempted in the past.


Because my screws are only 1cm, and the MDF itself is only 1.2cm in thickness, I was very careful not to drill too deeply – I didn’t want to drill all the way through and damage the floor of my dollhouse, whether I intend to cover it later or not.
Step Five: Screwing around ;) aka making sure your hard work isn’t wasted.
Once the holes were drilled, it was easy enough to replace the brackets and then I simply used a hand-held screwdriver. I felt like the power drill would have been overkill. It took me about 30 minutes to get all the boards fully set up.
They’re not much to look at yet, but we’re not quite done, either. It’ll get better :) and yes, there was a small sense of accomplishment for me even doing this. There was a time when I would have been horrified at the thought of even attempting it.

Step Six: Measure twice (three times if paranoid), drill once.
Now, I have quite a bit of taller furniture for my doll; in order to make it fit into my diorama, the height between each floor needs to be 40cm in height, in addition to the 1.2cm thickness for the MDF board itself (the floors/ceilings).
After measuring this out, I marked each of the measurements on my shelving supports with that same, blue pencil.
Unlike with my shelving unit brackets, no guesswork went into this – I measured at least three times, and drilled once. The last thing I wanted was a lopsided room, and drilling additional holes in support beams is probably not a good idea. Structural integrity and all that jazz.


Similar to the flooring, it didn’t take long to hit my stride and, once confident my measurements were accurate, it took about 15 minutes to get everything drilled.
Step Seven: Know when to ask for help - get a second pair of hands (no, really, I needed help).
Assembly, however, required a second set of hands (one to steady, the other to screw things into place).
Somehow muddling through worked and, once assembly was complete, it was time to carry the surprisingly light (uh oh) structure into the room it would be living in for the foreseeable future.
This is the final structure I’ll be working with for my dollhouse:

I don’t feel like it’s as sturdy as I’d like it to be, so I’m going to be adding some gussets toward the back and possibly a few pieces of wood down the back in an X shape. We’ll see. For now, I’m just happy to have it standing in the corner.
It may not look like much right now – in fact it may look a little “Oh good grief, that’s hideous”, but I’m not done yet. There’s a little storage underneath, an extra floor (the seeds of “oooooh, extra space” are being drenched right now), and everything is level - I’m not complaining.
You’ve already gotten a peek behind the curtain in the Halloween post – that’s the same “building” just further down the road. Yes, you read that right, we’re time-travelling in this post ;)
Ah, I’d say that’s a job well done, wouldn’t you?
Hang in there with me while I work my way through this process? If you said yes (I’m assuming you did), I’ll see you in the next “Tiny Girl, Tiny House” post :)


