
Miniature Book Guide
Banned book week is coming up later in the month (the 22nd-29th) and, to celebrate/honor the day, I thought I’d go ahead and upload a quick, do-it-yourself tutorial for creating realistic-ish books for your lovely dioramas. For those of you with steadier hands than my Grave’s has given me lately (sigh), they’ll come out nicer.
There is a video tutorial you can find (not by me, by someone much more skilled than I) here, if you prefer video format.
This happens to be something I can do from the confines of my comfy chair, while my leg is trapped in the machine that’s helping me regain flexibility. Win/win. Earlier today, I started yanking books off the shelves I could manage to reach and had my hubby scan them in high resolution. I know not everyone has a scanner, so I’ll upload the downloadable files if anyone is interested (just leave a comment and let me know).
For those that want to go that extra mile (and I absolutely did), I also decided to scan several pages from the book as well.


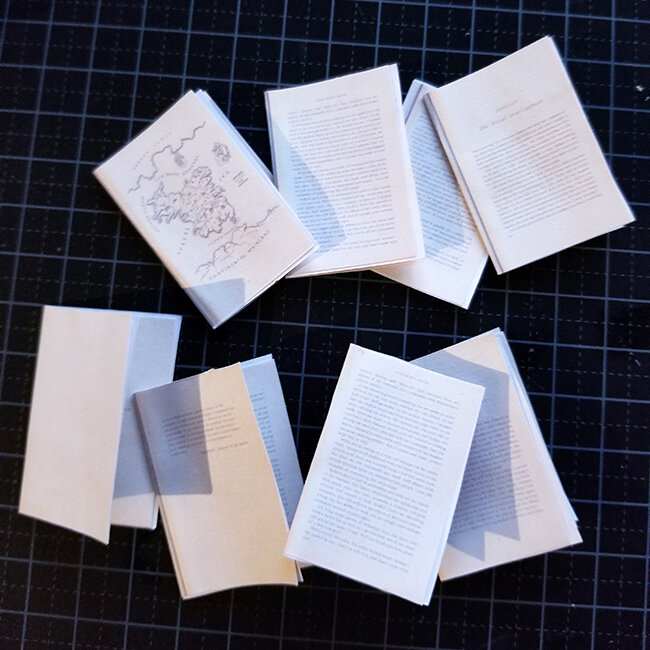
Naturally, because these are miniature and the paper thickness doesn’t shrink with the text, they’re going to be too thick to be full books. But I was able to fit in 12 double-sided pages (printed pages, glued together so they have text on both sides) without any trouble whatsoever.
I simply printed them right here at the house on regular paper, you should be able to do the same. If you want to get really fancy, print double-sided, save yourself some time and glue. Regardless, of whether you go double sided (I didn’t), once printed, just cut everything out. Steady hands are your friend, unfortunately for me, mine weren’t cooperating today.
I decided to go ahead and use photo paper to give the cover and spine a stronger backing. I just folded along the lines before gluing. Once glued, I went ahead and put it beneath the book I scanned to make sure it held together properly. I gave it 20 minutes to fully dry.
As to the pages themselves, once they were fully cut out, I matched them with other pages (making sure everything was upright), and glued them all together. I gave these another 20 minutes to fully dry, but I’m not sure they needed that long.

Originally, I’d planned to get fancy and use a needle and thread, but decided against it when I realized the needle and thread weren’t within reach (post-surgical recovery sucks, have I mentioned that yet?). I cringed and carefully glued things in place, inner page to inner page in a thin line, again putting them under the weight of other, heavier objects.
Once the pages were dry(ish), I glued the new spine of the pages to the spine of the book itself. It took about 30 minutes to dry using the same glue stick. I wasn’t sure if I should put it beneath the book this time, so I simply placed it beneath my smartphone for a bit. It seems to have worked out.
I’m still not satisfied with the outcome thanks to my hand tremors, but well.


Happy banned book week, everyone. Thanks for stopping in & good luck with your own books :)


