
DIY Playscale Lamp

Today I decided, on a whim, to make a doll lamp. It was quick, easy, and I like the result, so I thought I’d share the method with my fellow doll diorama enthusiasts. I hope you find this helpful :)
Items needed:
*A dresser knob (or bead, or something else you’d like to use as the base of your lamp)
*Some paper (or, in my case, photo paper)
*Packing material or a cotton ball (both will work)
*Glue
*Tape
*Scissors
*Wooden Kebab Sticks
Sounds like a strange combination, I know, but hang in there.
Step One: Cut your lampshade. Just hold the paper (or photo paper, or whatever you’re using) next to your doll and figure out what size lampshade you’d like. Wrap it in a circle and mark where you’d like your lampshade to overlap, marking enough extra space for where we’ll be gluing. Because I’m using photo paper, I gave myself quite a bit of extra space. Cut the paper accordingly (the picture below is my pre-cut scrap paper, I didn’t think to take a post-cut one until after my lamp was assembled - derp).
Glue your lampshade to the final size you desire. If necessary (and it was for me), once glued, help to hold your stubborn paper in place with a bit of tape.


Next, it’s time to chop your kebab sticks down. Measure how many will fit into the opening of your lamp base (bead, knob handle, whatever you chose to use). For me, this was four kebab sticks. I chopped them down quite short, about double the length I wanted to be on display for the final lamp.
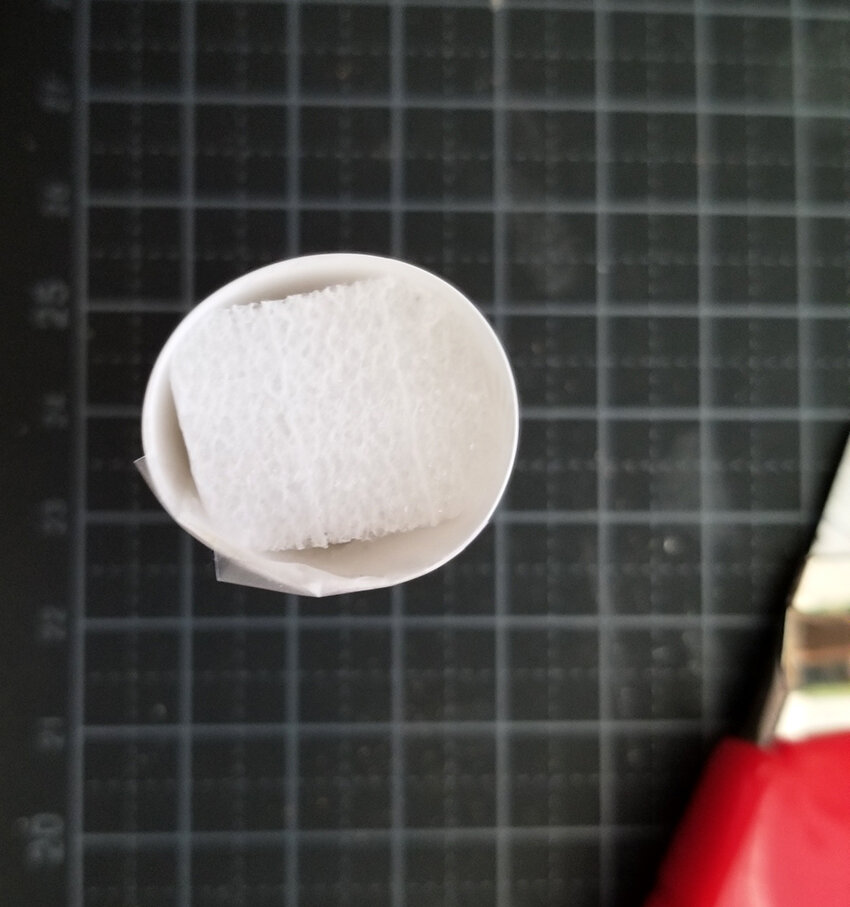
I then took some spare packing material and chopped a piece down small enough to fit inside the lampshade. This didn’t need to be exact by any stretch of the imagination, which is a good thing for those of us with less-than-steady hands.


Once you’ve got them cut, use the pointy end of your kebab sticks to make corresponding holes (slightly apart from one another) into the packing material.
Yes, I’m telling you to “stick them with the pointy end”, and no, I’m not apologizing for my blatant “Game of Thrones” reference.
Take the “non pointy” end and push it into the packing material, then slide the packing material into the lampshade.

Once you have the desired look, simply slide the other end of the kebab sticks into the opening on your lamp base and viola: a very quick, but very stylish, lamp for your doll’s abode.
I used similar knobs here for plant-holders.

Now, if you’d like to, there’s nothing stopping you from gluing this together for a sturdier piece. However, for me, I might want to swap out the lampshade for something different in future, so I’ll be leaving it unglued. If you do this, just be careful when moving it around.

I hope you found this helpful, and I’ll see you next time :)


